Running Text Generation Web UI
If you would like to try out AI models either from llama.cpp or Transformers, You can use many tools such as ollama or LMStudio, but if you would like to run it on a server and have an OpenAI API compatible library and fine grainded control over GPU parameters, I would recomment text-generation-webui
Getting Started
Just clone the repository and run the start_ commands. Here I am setting this up on a linux server running Ubuntu 22.04
git clone https://github.com/oobabooga/text-generation-webui.git
cd text-generation-webui
./start_linux.sh
The first time, you would want to run it manually as it asks questions about CUDA versions
The setup actually downloads and installs miniconda, sets up an environment. All this is stored inside installer_files
To check if everything is working
http://server:7860If you see an interface, then you installed everything correctly. You will not be able to chat at this point since you did not load any models.
Downloading and loading model files
You can either download gguf files manually and put them under model folder or download from huggingface. Here I am downloading Mixtral 8x7B instruct model. Remember instruct models are tuned for chat and you should typically look for the word instruct in the model name.
If you are downloading from HuggingFace, make sure you have installed huggingface-cli on the server using pip and then huggingface-cli login to ensure you are authenticated. This is required for gated models where you have to accept the terms and conditions before downlaoding
To check if you are loggged in
huggingface-cli whoamiThen go to hugging face and find the model you would like to try
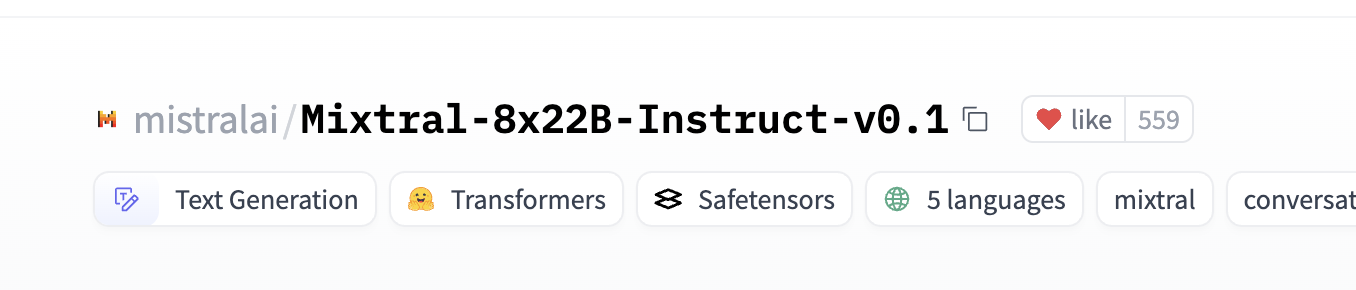
Click on copy
Paste in Download box of Model tab in interface
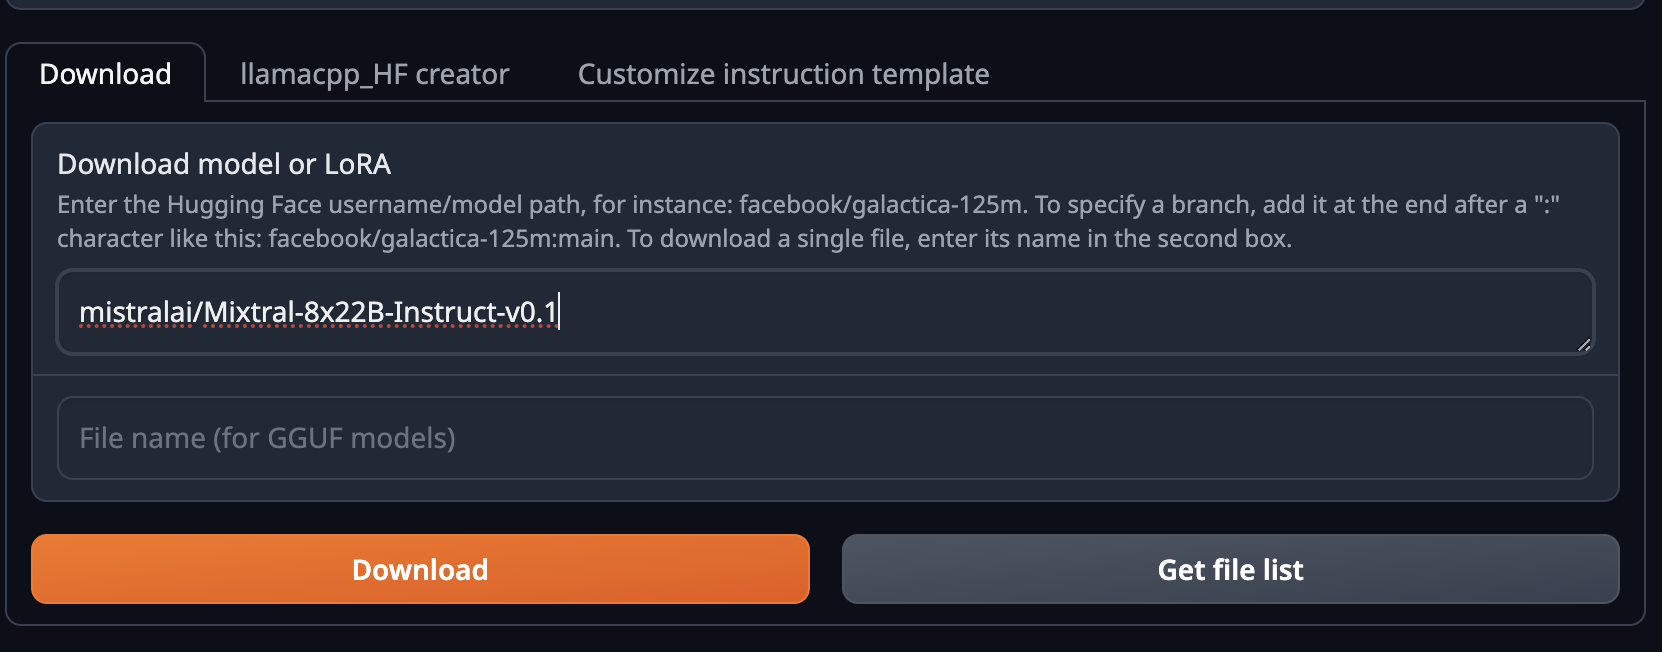 and hit Download
If you get an error 403 Forbidden, You must agree to terms of the model typically
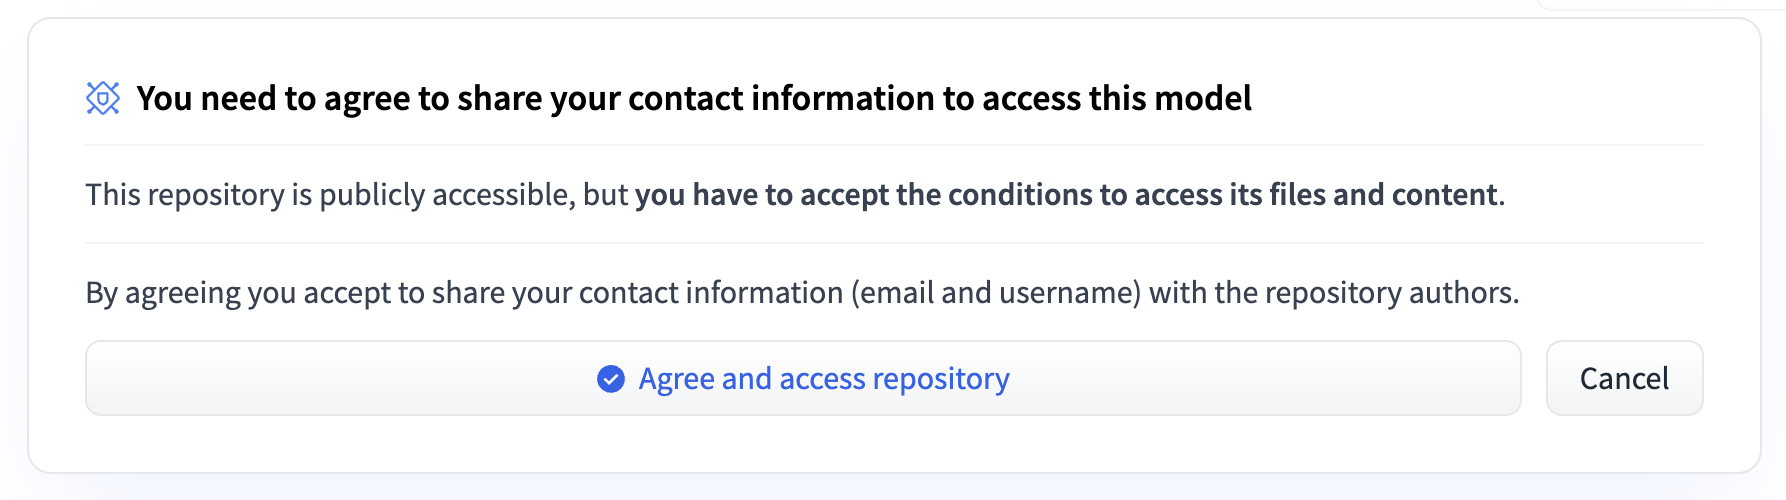
Then click on download again. These model files are downloaded to models folder. You can check the progress by tail -f nohup.out if you are running in background mode or just by looking at command line
Once the model is downloaded, hit the refresh button to see the new model pop up in the drop down, Now select transformers as the mechanism to load the model and set parameters like quantization (4 bit or 8 bit)
If you have enough GPU memory, You can load it unquantized.
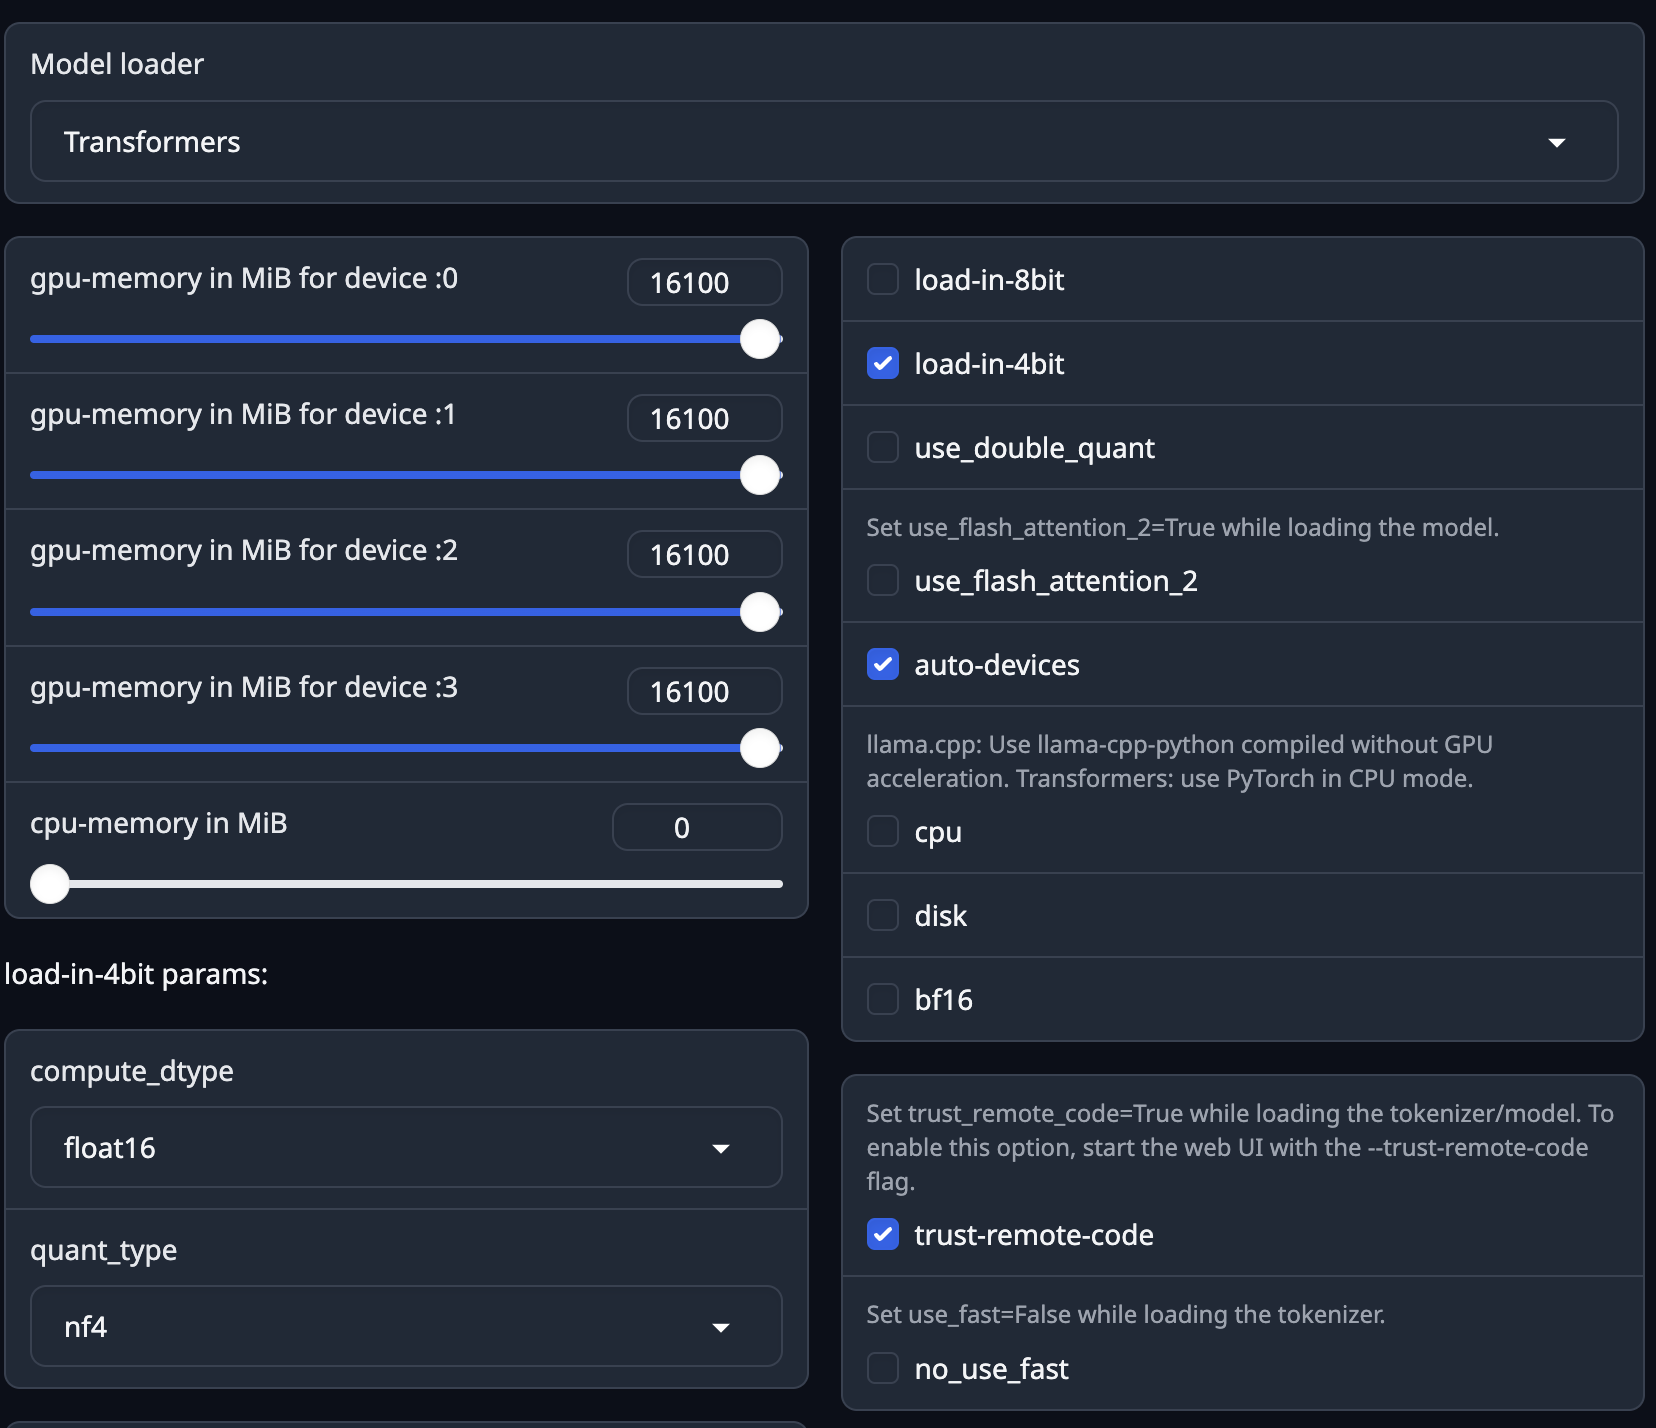
I have 4 GPUs each with 16 GB, so I am telling it to use all 4 GPUs, Then hit load, check the status in the log. If you see a success message, then you are ready to chat.
Check GPU usage
nvidia-smiYou will see an ouptput like this
Tue May 21 12:50:12 2024
+---------------------------------------------------------------------------------------+
| NVIDIA-SMI 535.171.04             Driver Version: 535.171.04   CUDA Version: 12.2     |
|-----------------------------------------+----------------------+----------------------+
| GPU  Name                 Persistence-M | Bus-Id        Disp.A | Volatile Uncorr. ECC |
| Fan  Temp   Perf          Pwr:Usage/Cap |         Memory-Usage | GPU-Util  Compute M. |
|                                         |                      |               MIG M. |
|=========================================+======================+======================|
|   0  Tesla V100-SXM2-16GB           Off | 00000000:18:00.0 Off |                    0 |
| N/A   40C    P0              61W / 300W |   6267MiB / 16384MiB |      0%      Default |
|                                         |                      |                  N/A |
+-----------------------------------------+----------------------+----------------------+
|   1  Tesla V100-SXM2-16GB           Off | 00000000:3B:00.0 Off |                    0 |
| N/A   34C    P0              58W / 300W |   6821MiB / 16384MiB |      0%      Default |
|                                         |                      |                  N/A |
+-----------------------------------------+----------------------+----------------------+
|   2  Tesla V100-SXM2-16GB           Off | 00000000:86:00.0 Off |                    0 |
| N/A   34C    P0              59W / 300W |   6829MiB / 16384MiB |      0%      Default |
|                                         |                      |                  N/A |
+-----------------------------------------+----------------------+----------------------+
|   3  Tesla V100-SXM2-16GB           Off | 00000000:AF:00.0 Off |                    0 |
| N/A   37C    P0              62W / 300W |   7885MiB / 16384MiB |      0%      Default |
|                                         |                      |                  N/A |
+-----------------------------------------+----------------------+----------------------+

+---------------------------------------------------------------------------------------+
| Processes:                                                                            |
|  GPU   GI   CI        PID   Type   Process name                            GPU Memory |
|        ID   ID                                                             Usage      |
|=======================================================================================|
|    0   N/A  N/A     69710      C   python                                     6264MiB |
|    1   N/A  N/A     69710      C   python                                     6818MiB |
|    2   N/A  N/A     69710      C   python                                     6826MiB |
|    3   N/A  N/A     69710      C   python                                     7882MiB |
+---------------------------------------------------------------------------------------+
This indicates the model is using all 4 GPUs. You can try to load in 8 bit and it will use more memory.
When project updates
text-generation-webui is pretty active project and you might see performance improvements and new model templates added to this project all the time. If you would like to update your local installation, All you have to do is pull the latest version, delete the installer_files folder and run your start_linux.sh commamnd one more time.
I have noticed that this is the best way to run, instead of running pip install and hoping for the best.
OpenAI compatible end points
To get OpenAI comptibale end points, use the following command
nohup ./start_linux.sh --listen --auto-devices --extensions openai --trust-remote-code &This ensures the service is running in the background and the --extensions openai will start a server on port 5000 for you to access
To see the log
tail - nohup.outTo Test it
curl --location 'http://server:5000/v1/chat/completions' \
--header 'Content-Type: application/json' \
--data '{
     "model": "mixtral",
     "messages": [{"role": "user", "content": "who are you?"}],
     "temperature": 0.7
   }'